Cursor for iOS Development – Installation Guide

#iOS App Development, #Thomas Ricouard
I've spent a few weeks playing with Cursor for iOS App Development .
For now my conclusion is that:
- It's already workable
- Not without sharp corners. Sometimes, it's annoying, but it already brings more benefits than inconveniences.
- That's the future of the development workflows. It won't probably take our jobs, but will improve the overall experience
Read more: My Experience With Cursor for iOS Development
1. Install Cursor
Download Cursor. The free tier should be enough to dive into the new era of coding experience.
2. Xcode Build Server
brew install xcode-build-server
SourceKit-LSP is an implementation of the Language Server Protocol (LSP) for Swift and C-based languages. It provides intelligent editor functionality like code-completion and jump-to-definition to editors that support LSP.
This package allows SourceKit-LSP to work outside of Xcode
3. XCBeautify
Pretty print the xcodebuild output within Cursor terminal.
brew install xcbeautify
Reference: GitHub - cpisciotta/xcbeautify: A little beautifier tool for xcodebuild
4. Swift Format
SwiftFormat is a library & CLI tool for reformatting Swift code.
brew install swiftformat
Reference: GitHub - nicklockwood/SwiftFormat: A command-line tool and Xcode Extension for formatting Swift code
5. Swift language support
Install Cursor extension:
- View -> Extensions -> Search "Swift language support"
- Install & Enable
This extension adds language support for Swift to Visual Studio Code with the following features:
- Code completion
- Jump to definition, peek definition, find all references, symbol search
- Error annotations and apply suggestions from errors
- Automatic generation of launch configurations for debugging with CodeLLDB
- Automatic task creation
- Package dependency view
- Test Explorer view
Swift support uses SourceKit LSP for the language server to power code completion and LLDB to enable debugging.
6. Sweetpad
Basically, Sweetpad is a wrap-around xcodebuild CLI, and allowing access to targets, build schemes, destinations, manage simulators, run tests, etc. It can also debug and run tooling: Swift Format, SwiftLint, XcodeGen, etc.
-
Install Cursor extension:
- View -> Extensions -> Search "Sweetpad"
- Install & Enable
-
Initial integration with the build server:
- CMD + SHIFT + P
- Select:
Sweetpad: Generate Build Server Config
This will create a buildServer.json at the root of your directory and allow Xcode Build Server to work with your project directory.
- Build & Run
- CMD + SHIFT + P
- Select:
Sweetpad: Build & Run
From there, you can browse all your targets and hit run on any of them.
7. Hot Reloading
Cursor uses Sweetpad which uses xcodebuild to build and run the project. The problem is that it's slow: Why is xcodebuild slower than the Xcode GUI?.
Hot reloading helps.
I installed Inject lib via SPM and then followed the "Individual Dev Setup" steps:
- You must add "-Xlinker -interposable" (without the double quotes and on separate lines) to the "Other Linker Flags" of all targets in your project for the Debug configuration (qualified by the simulator SDK to avoid complications with bitcode), refer to InjectionForXcode documentation if you run into any issues
- Download the newest version of Xcode Injection from it's GitHub Page3. Unpack it and place it under
/Applications - Make sure that the Xcode version you are using to compile our projects is under the default location:
/Applications/Xcode.app - Run the injection application
- Select open project / open recent from its menu and pick the right workspace file you are using
Adding the following snippet should have made life with hot reloading even easier:
import SwiftUI
import Inject

extension View {
    func enableHotReloading() -> some View {
        modifier(HotReloading())
    }
}

struct HotReloading: ViewModifier {
    @ObserveInjection var inject

    func body(content: Content) -> some View {
        content
            .enableInjection()
    }
}
Unfortunately, it doesn't work as expected. With this enableHotReloading() modifier the view doesn't require a rebuild but still has to be manually refreshed. It can be triggered by tapping a button or hiding/showing the view.
The real hot reloading can only be achieved by placing an @ObserveInjection var inject in the view that is needed to hot reload.
struct ContentView: View {
    @ObserveInjection var inject

    var body: some View {
        content(...)
            .enableInjection()
    }
}
Troubleshooting
There are folks who are struggling to make it work with Cursor, and it seems like fixes came down only in the latest RC builds.
However, I made it work with the previous-gen InjectIII version. Probably it's because I use an Inject library for integration, probably because I was using it with Xcode before.
Anyway, in my case, it worked with Cursor out of the box with the following versions:
- InjectIII v5.0.4
- Inject: v1.5.2
- Xcode v16.0.0
So I would suggest making things work with Xcode first, and only then move to Cursor.
8. Un-uglify Cursor Code Editor
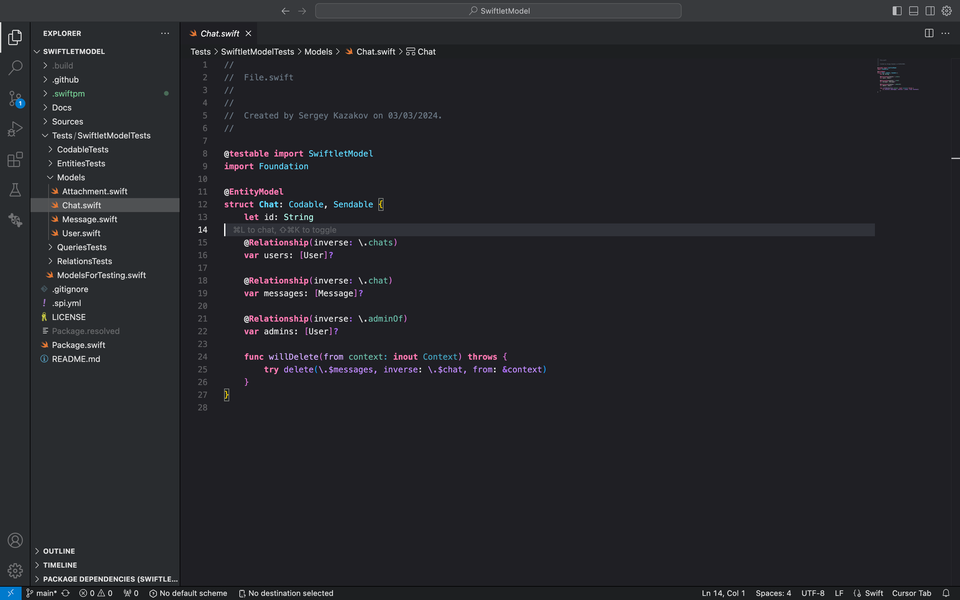
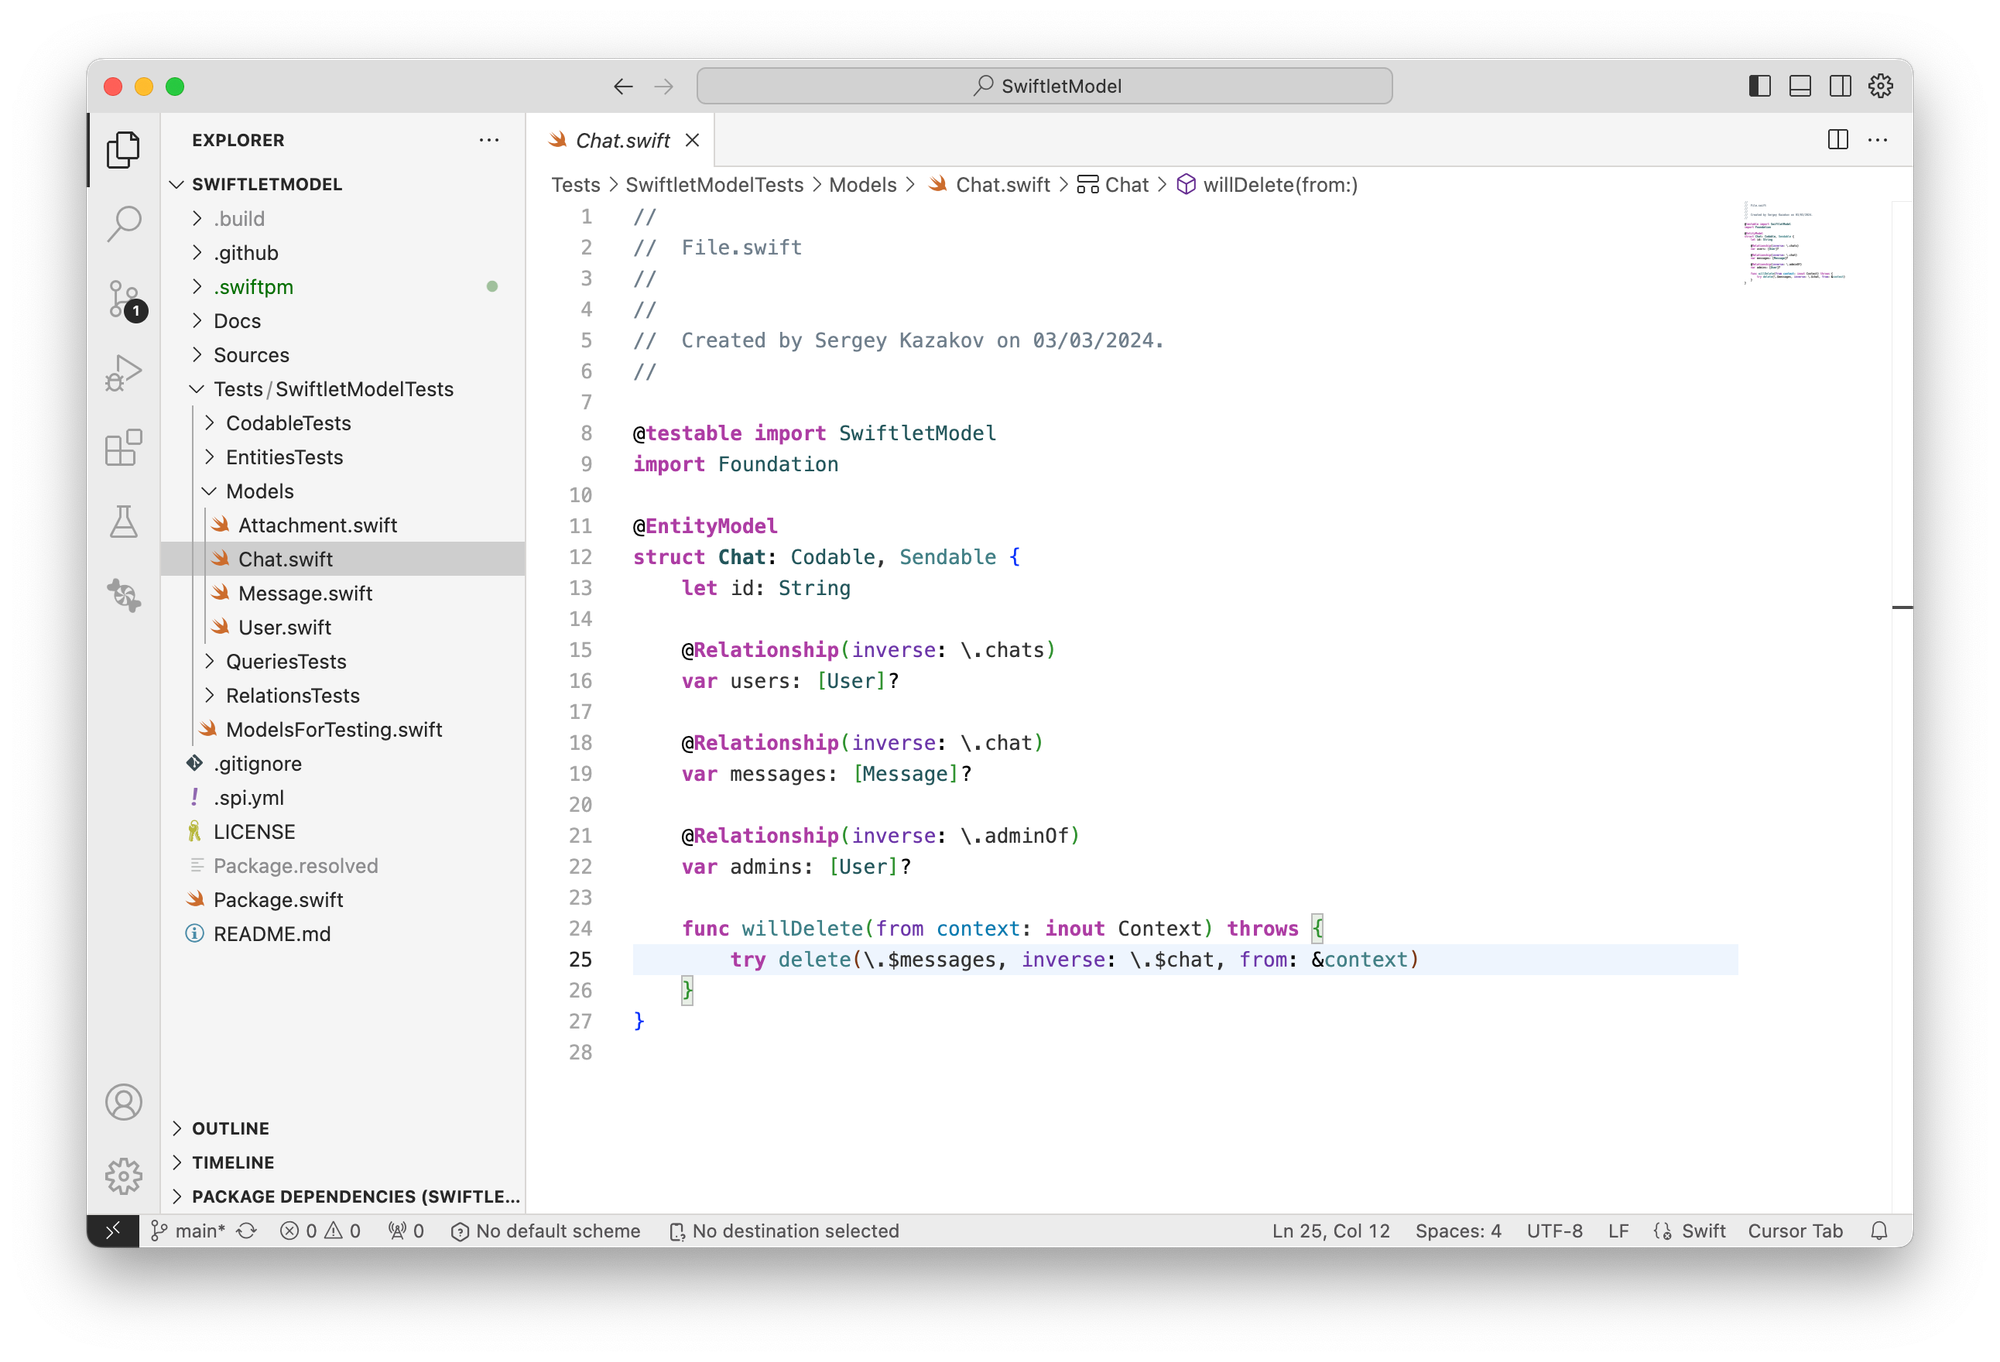
For me personally, Cursor(VSCode) code editor looks like a plain notepad which makes the code look kinda ugly after Xcode.
Font Styling
It's because the Xcode editor adds a bit of bold styling to certain code definitions that make your code shine.
The config below allows you to reproduce it in Cursor:
-
Open the settings file
- CMD + SHIFT + P
- Open User Settings JSON
-
Paste the following config. It will add bold styling to certain definitions to make it look like in Xcode. It also removes vertical indentation lines and annoying type hints.
"editor.inlayHints.enabled": "offUnlessPressed"
"editor.guides.indentation": false,
"editor.tokenColorCustomizations": {
	"textMateRules": [
		{
			"scope": [
				"entity.name.type.struct.swift",
				"entity.name.type.class.swift",
				"entity.name.type.actor.swift",
				"entity.name.type.protocol.swift",
				"entity.name.type.enum.swift",
				"entity.name.type.swift"
			],
			"settings": {
				"fontStyle": "bold"
			}
		},

		{
			"scope": "meta.import.swift entity.name.type.swift",
			"settings": {
				"fontStyle": ""
			}
		}
	]
},
Xcode Theme
The whole thing would have made no sense if we hadn't installed the Xcode theme.
Cursor -> Extensions -> Search "Xcode Theme" and pick any.

Common Pitfalls
There are problems. Cursor is not capable of managing Xcode-specific files/catalogs, such as XCAssets, localizable strings dicts, .xcodeproj, etc. Instruments, and Organizer are obviously, not supported. Basically, Cursor does what it does: text files editing.
More examples and possible solutions: Pitfalls of Using Cursor for iOS Development
Acknowledgements
Escaping Xcode’s monopoly is arguably one of the most significant advancements in iOS development in the past decade. It’s especially meaningful that this was achieved through tools like VSCode and Cursor.
A massive shoutout to everyone who made this possible:
- SolaWing for the Xcode build server
- Charles Pisciotta, Thi Doan, Pedro Piñera Buendía, William Lyu for the XCBeautify
- Nick Lockwood for the SwiftFormat
- Adam Fowler, Tim Condon, Paul LeMarquand for the VSCode-Swift
- Yevhenii Hyzyla for the Sweetpad
- John Holdsworth for InjectIII and Krzysztof Zablocki for Inject integration
- Thomas Ricouard and Rudrank Riyam for the guides
- And all the other contributors I might have missed!
You are the ones driving the industry forward. Thank you for your incredible work!
References
- How to use Cursor for iOS development
- Exploring AI Assisted Coding for iOS Development
- GitHub - johnno1962/InjectionIII: Re-write of Injection for Xcode in (mostly) Swift
- GitHub - krzysztofzablocki/Inject: Hot Reloading for Swift applications!
- Syntax Highlight Guide | Visual Studio Code Extension API
Comments