My Portable Homelab Overview
#HomeLab, #Self-Hosting, #Gadgets
I've finally built my portable home lab instance and now I can hardly hold back my excitement about it.
My homelab usecase is pretty basic:
- Media storage including macOS Photos app library
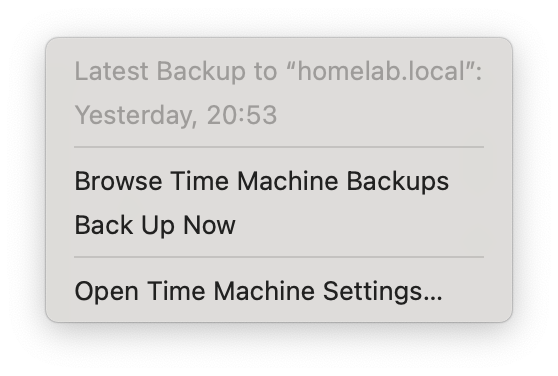
- Timemachine backups
- Archives from the old computers
- Playground for all kinds of Self-Hosted things
That's basically it. I would also need a multiuser support for family members and probably some sort of an advanced [[3-2-1 Backup]] features. Also See: Why Backups Matter
Homelab Alternatives
Ridiculously, but if you have a few TBs of data, care about privacy and safety, and take into account price, there are not so many elegant and streamlined storage alternatives: [[Why not just use a cloud storage]].
The closest alternative is probably buying a NAS, but it's not even close in terms of flexibility, including flexibility of the budget. NAS portability is limited and even if you decide to take only hard drives with you, the only place you can move is another NAS: [[NAS as a Homelab Alternative]]
The thing that neither NAS nor Cloud storage may suggest is a playground: a space for experiments and projects that only a home lab can provide.
My Portable Homelab Setup

My homelab is filthy portable. Still, it gives a certain level of redundancy and infinite flexibility with shitty consumer-level components.
Hardware
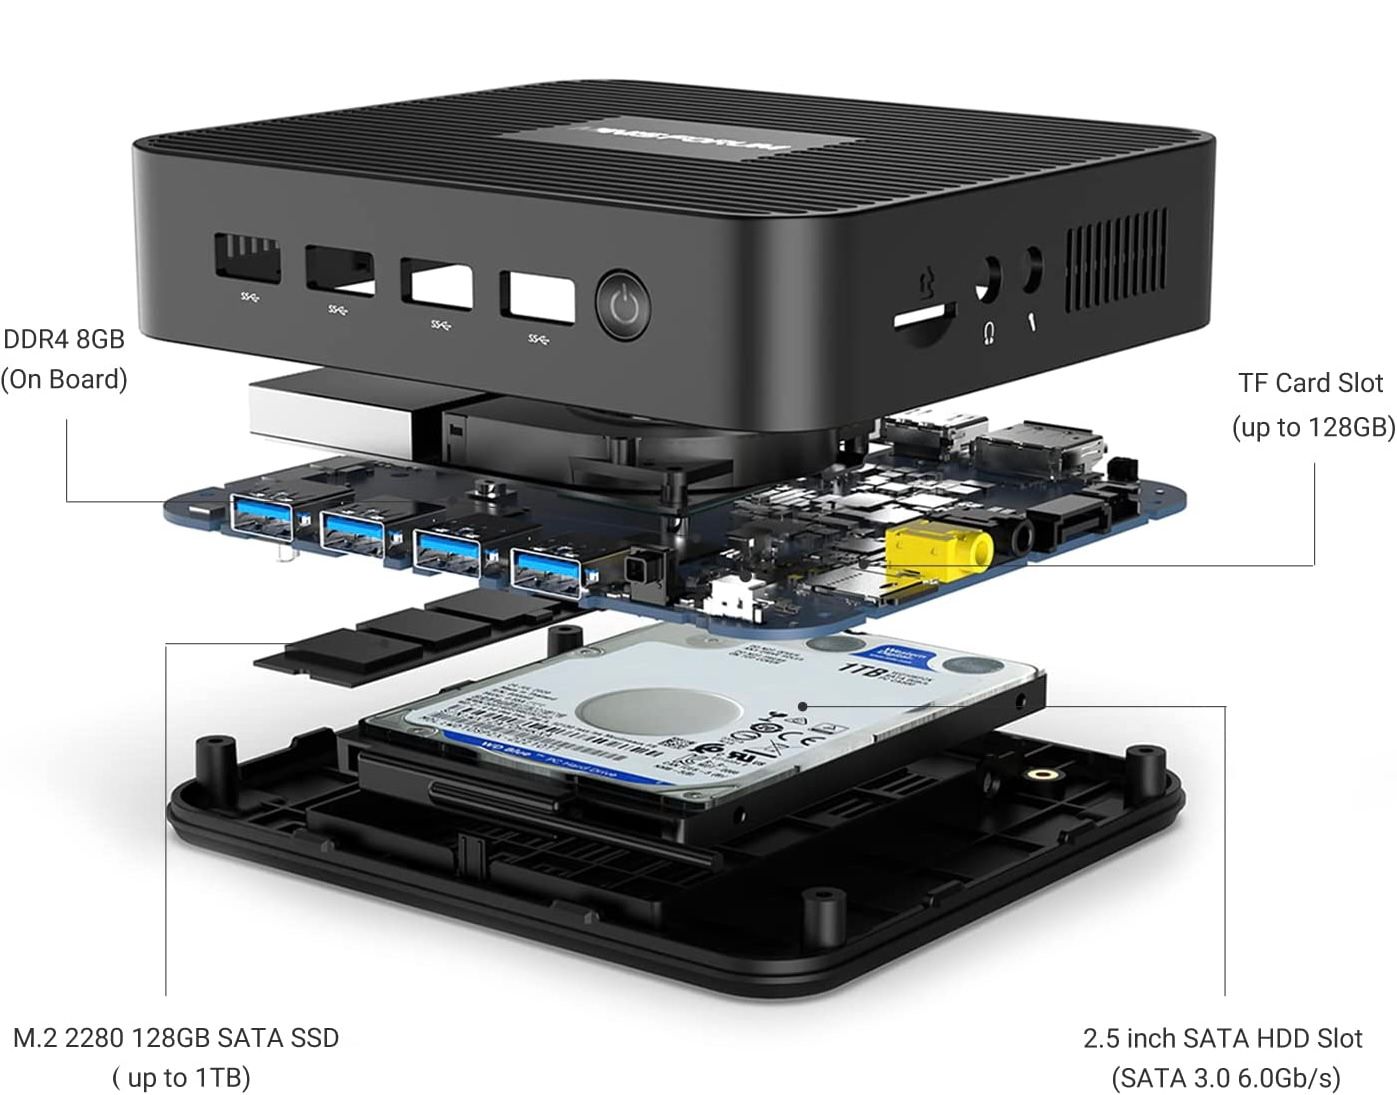
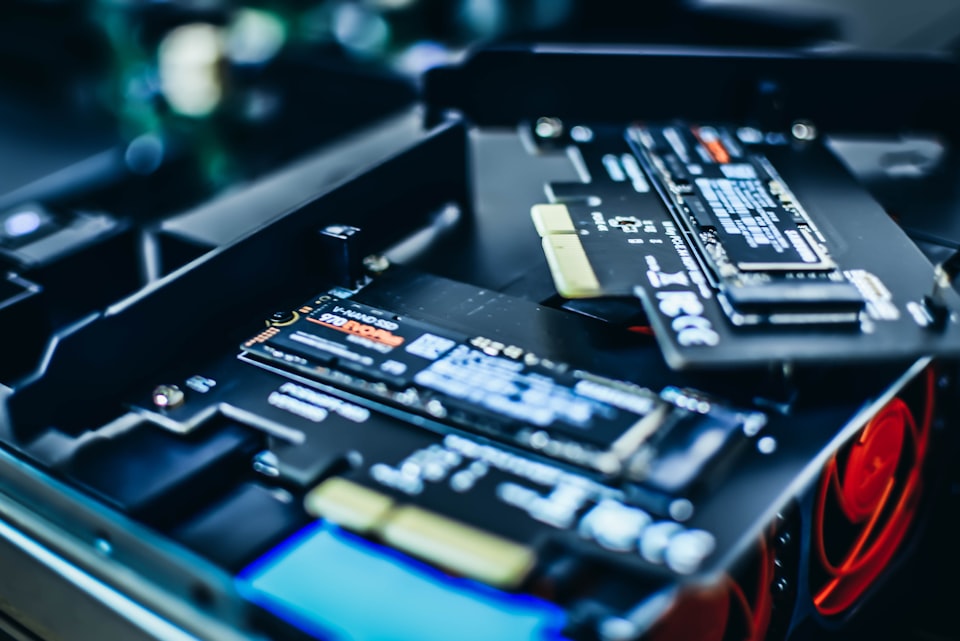
Choosing between Raspberry PI and anything else I picked a power-efficient mini pc:
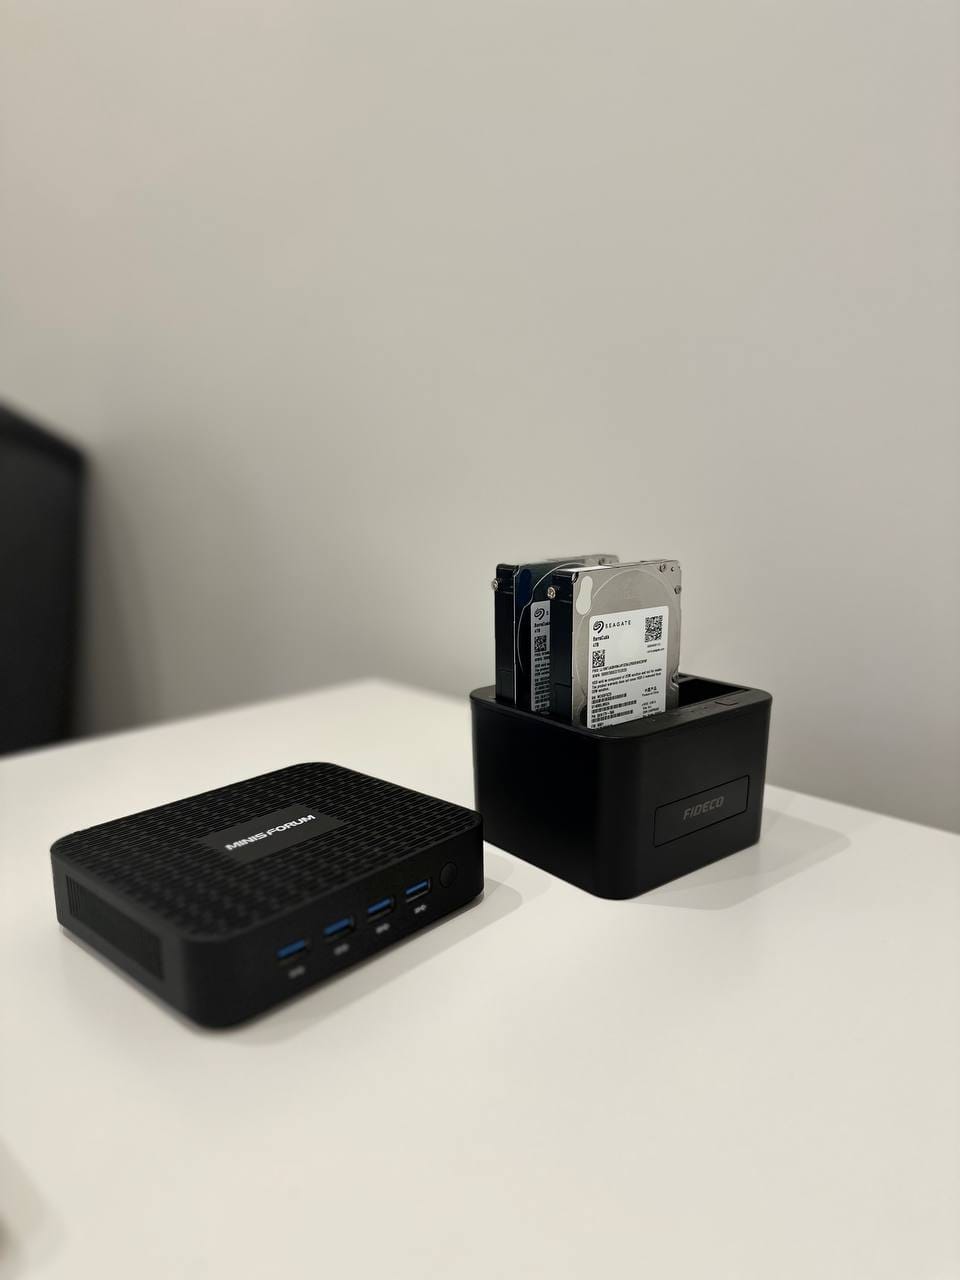
- Minisforum GK41 with 4 cores Intel Celeron J4125, 8GB RAM, and 256GB SSD.
- 2x 4TB external USB HDDs from Seagate for storage purposes
- FIDECO HDD Docking Station
For the price of a Raspberry PI, it gives a nice case with an active cooling system, SATA and M2 interfaces, and a bunch of ports like USB, HDMI, LAN, etc.
The x86 CPU also gives a bit more flexibility compared to ARM in terms of software compatibility. It's a bit less energy efficient than Raspberry, but I'm ok with that.
My older config was almost the same except I didn't use HDD dock and connected drives directly via USB. Then I moved from external drives to an HDD dock.
Also see: My Homelab Hardware 1.0
Host OS, Virtualization, LXC Containers
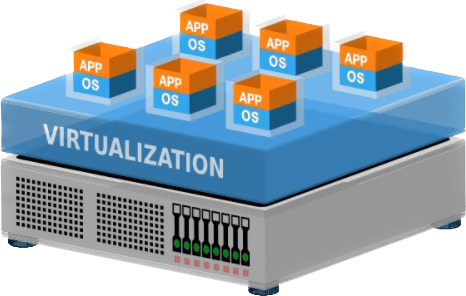
For many people including me, the home lab is a playground for experiments. Virtualization creates an extra abstraction layer between the hardware and the server instance itself giving a lot of room for trials and errors.
My pick of choice is:
- Proxmox as the host system
- LXC container with NixOS in it for the guest, which is the actual home lab
It allows me to magically create instances, make snapshots, and restore everything just like it works on a DigitalOcean. I can safely play with different configurations, OS, and anything else without any risk of breaking everything.
For Proxmox host OS I have almost no custom configuration. All services are configured on the homelab instance level.
So if I need to move to another host machine for any reason, I can install the host OS very quickly and restore my homelab guest instance entirely from a backup or run my NixOS config. All valuable data is stored separately in an external encrypted tank.
Proxmox is incredibly powerful yet efficient. Proxmox is basically Debian with KVM and LXC tooling with the web interface. LXC containers visualization overhead is considered close to zero hence all runs smoothly on my minimal hardware.
Filesystem
ZFS has a list of downsides which is worth a separate post. Nevertheless, I consider it to be such an interesting piece of engineering that I couldn't resist picking it for my file storage.
My external HDD drives make up a ZFS storage pool (RAID1) which is attached as an external tank to the host. Then they are passed through the host and mounted right to the homelab guest instance.
Snapshots
Its copy-on-write transactional mechanism allows it to make filesystem-level snapshots with checksum and data corruption checks out of the box. It's literally a time machine on a filesystem level.
It's also capable of making incremental backups. It can even send them to an external drive or remote server. All with built-in tools!
Software RAID
ZFS provides redundancy features with different sorts of software RAID configurations. There is a self-healing toolset that allows it to find and fix the consequences of a bitrot.
Datasets
Another cool feature is ZFS's datasets. On the one hand, datasets are simply directories. On another hand, they behave like nested filesystems which you can configure separately for your own needs. Set capacity, encryption, compression, etc.
Encryption
Even though ZFS encryption is considered slower than its peers, like LUKS, nevertheless, I think it's nice to have native encryption on a filesystem level. ZFS is flexible here and allows the encryption of only specific datasets with a passphrase or encryption key.
ZFS allows one to make encrypted snapshots and send them to the untrusted remote ZFS storage without even a need to load a key on the remote server.
Software
Unlike many homelab enthusiasts, I'm not having dozens of software running on my server. Yet.
Proxmox Host Config
My Proxmox host config is mostly default from the official guide with a few recommended tweaks I found online. Nothing particularly interesting, except perhaps the encryption setup.
My storage tank is encrypted with a passphrase which is automatically mounted on the boot from a USB stick. If I need to secure things up I just turn the server off and pull the stick out.
Initially, I used to have a working schedule for my homelab to reduce wear and tear on the hardware since I don’t need it running 24/7. The plan didn't take off.
Homelab Instance VM Config
Currently I run the following software on my homelab:
-
Samba :I only have Samba that publishes proper directories as network drives for each user in my home network. Some of those drives are simply marked as time machine compatible.
-
Avahi: I use Avahi which makes the instance available via .local domains.
-
Remote Access: Currently, my homelab is accessible only within a home network. I just don't need remote access with my use case.
Overall Experience
Initially, I had a list of concerns:
- I wasn't sure that the MacOS Photos library would work on a slow external HDD over the Wi-Fi network.
- I wasn't sure that the MacOS time machine would work with an external network attached drive with ZFS under the hood.
- ZFS is known for memory pressure, I wasn't sure that 8GB would be enough
It all works! Photos library is not fast and furious, but it's even usable. ZFS feels fine. Time Machine runs without any noticeable slow-downs. It's just as slow as a backup to an external HDD over USB.
I don't even need to push the time machine manually, as it connects to the homelab when it's available and does all the stuff.
My overall experience with that is 10 out of 10.
Comments